
TECHNOLOGY / MATERIAL
ZENITH / ZENITH ORIGIN Putter Manufacturing Process
Step 1: Design
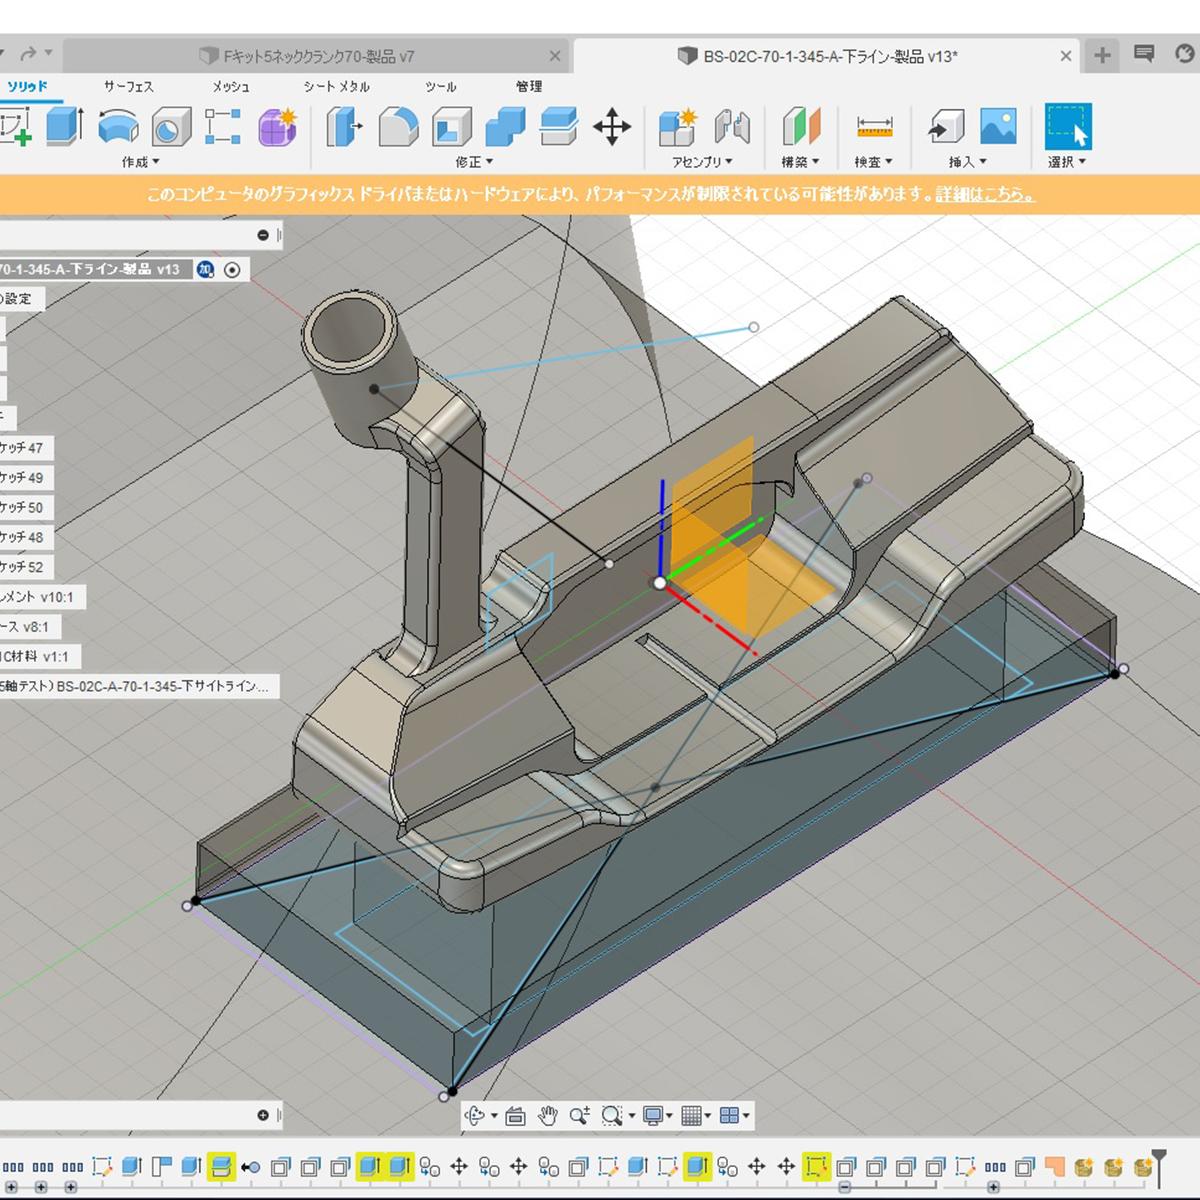
Putter manufacturing begins with 3D CAD design.
First, the basic head shape of the putter is designed, and the dimensions and shapes of each part, including the top line, face, sole, flange, and neck, are carefully specified.
Step 2: Creating Machining Data
Tools suitable for the putter's material and model are selected, and machining data is created.
The data is created while ensuring that the putter and holder do not interfere during machining, and once completed, it is output.

Step 3: Material Preparation and Securing
Measure the dimensions of the material before processing. At that time, also calculate the specific gravity to check if the material is correct.
Then proceed to processing.
When processing, jigs may be used for setup.
Jigs are selected based on specifications such as the model's shape, lay angle, and weight.
For this reason, there are nearly 100 jigs.

Step 4: Rough Machining
Use a thicker blade to remove excess material.
Although the time required for each step varies, approximately 20% of the entire process is spent machining the piece into a rough shape.
At this stage, do not worry about fine precision; focus on removing material as quickly as possible.
Step 5: Intermediate Machining
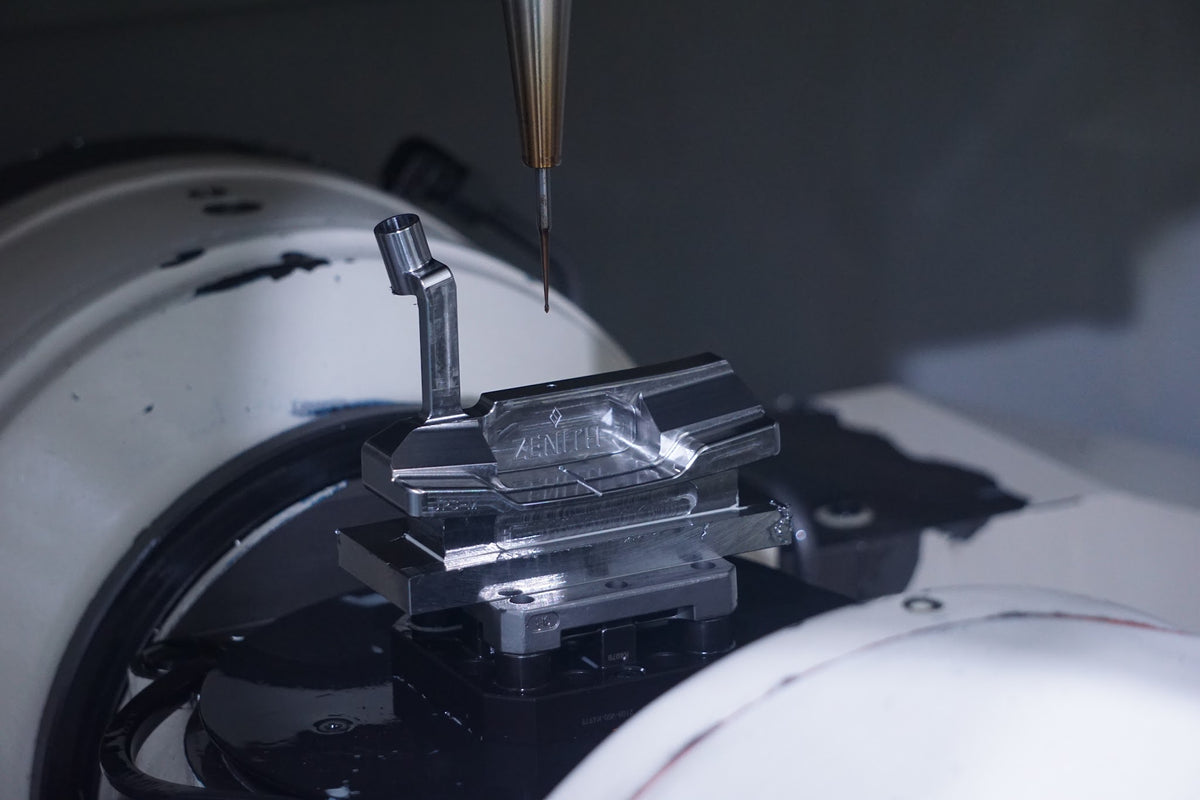
From here, gradually use thinner blades to machine the piece before the final finishing step.
Remove the areas that could not be fully machined during rough machining.
At this stage, begin to pay some attention to precision and surface finish.
By the end of intermediate machining, approximately 50% of the process is complete.
Step 6: Finishing
Use extremely fine tools designed for precision and micro-machining to perform the final machining. More than half of the total machining time is spent on this step.
Slow down in narrow areas and speed up in wider areas, adjusting the pace and paying meticulous attention to detail.
This is the most important part of the process, as it determines the weight and appearance of the pattern.
Step 7: Face Milling Accuracy and Tolerances
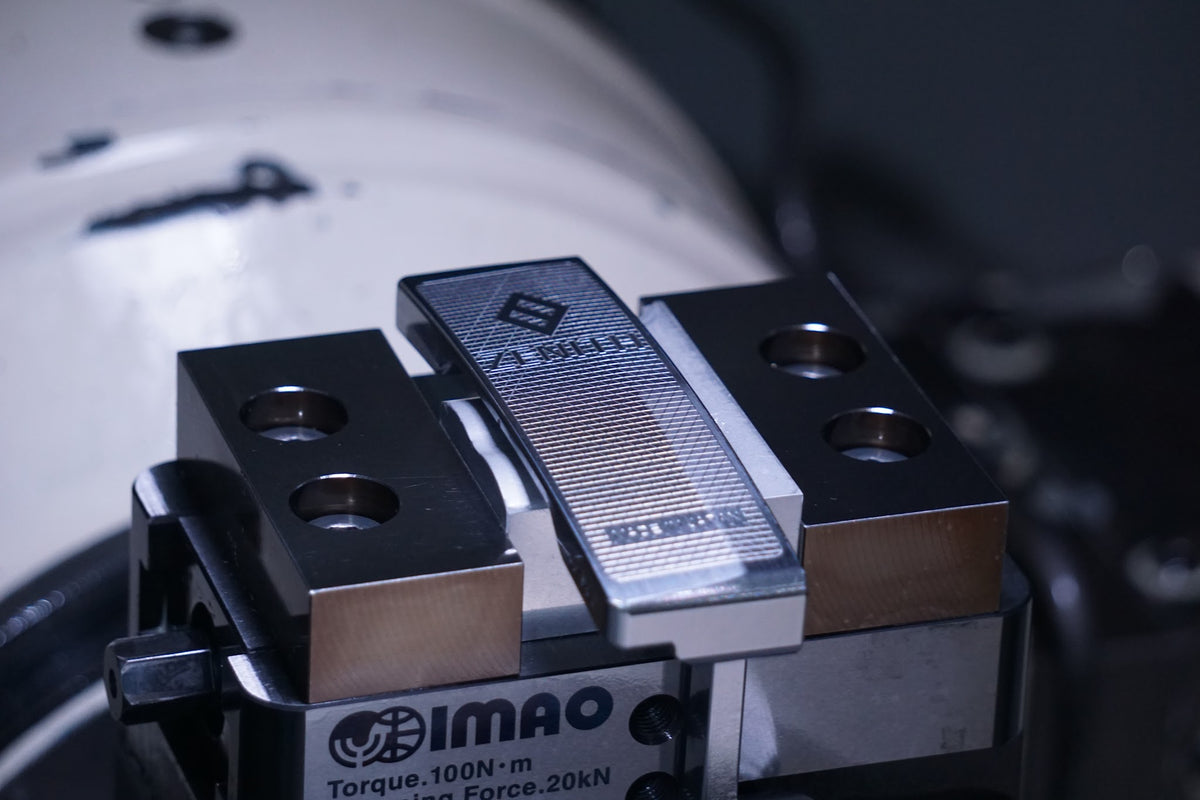
After the putter head shape is completed, the face undergoes milling.
A CNC machining center and specialized tools are used to precisely machine the face, creating a uniform and beautiful face pattern.
Face milling is not merely a process for adding a design pattern.
By adjusting the machining pattern, depth, and spacing of the face, differences are created in the feel upon ball contact, the sound of impact, and the appearance of the face.
Therefore, the machining method is designed to match the putter's concept, materials, and desired feel.
Step 8: Polishing and Surface Finishing
After machining, the putter is finished by hand.
Specialized machines and tools are used to remove tool marks and fine burrs.
After being polished by hand by skilled artisans, the putter undergoes blasting to achieve a more luxurious finish.
The blasting process is also performed by hand by skilled artisans.
It is applied uniformly to ensure there are no uneven areas in appearance.
Additionally, masking tape is applied to the sole of the putter to prevent it from being blasted.
Step 9: Inspection
Inspection of the pre-machining material dimensions, specific gravity, and the quality, appearance, and specifications after each machining step (inspections after each machining step are performed by multiple people).
Specialized measuring instruments are used to measure the hosel diameter and tip diameter of the neck.
Inspection of the weight, quality, appearance, and specifications after machining (when it is machined into the shape of a putter).
Final inspection of the quality, appearance (checking for uneven blasting, etc.), and specifications after hand polishing and blasting.
After assembling the shaft and grip and applying color to various parts, these are inspected.
Precision and Tolerances
ZENITH’s machining precision is governed by clear weight standards. Head weights are controlled to within ±1.5 g of the design specification,
a level of precision made possible by the one-piece machining process. Unlike structures where parts are joined by welding, machining from a single ingot prevents weight variations from accumulating,
enabling consistent maintenance of a narrow tolerance range. The ±1.5 g weight standard provides assurance that the lie angle, loft, and material combination determined during fitting
are faithfully reproduced in the actual head, serving as a practical precision metric that supports consistent feel and swing balance.
Processes Involving Manual Work
The ZENITH PUTTER manufacturing process does not end after precision machining on a machining center. The final finishing stage is performed by hand by skilled artisans. Using specialized machines and tools,
they carefully remove tool marks and fine burrs remaining on the machined surfaces one by one. The blasting process applied after polishing is also performed entirely by hand.
To ensure a uniform appearance, the head is blasted while maintaining consistent pressure and angle.
Furthermore, masking tape is carefully applied to the sole to prevent blasting in unintended areas. By combining the precision of machines with the delicate judgment and perseverance of human hands, a premium finished product is achieved.
ZENITH’s Unique Approach
ZENITH PUTTER custom orders differ for each club in lie angle, loft, and neck shape. To accommodate this variety, ZENITH develops dedicated jigs for each head model and weight—another unique feature of the brand.
When a material is secured in a machining center, the contact surfaces and center of gravity naturally change with the shape. Using the same clamping method could cause slight distortion in thin sections or generate minute vibrations (chatter) during machining,
potentially leading to inconsistencies in the finished product’s precision. Therefore, ZENITH designs jigs specifically for the shape and weight characteristics of each model, pursuing clamping methods that firmly support the material without applying unnecessary stress.
Even with the countless variations created by custom orders, consistent precision is possible because every club is supported by jigs tailored to its individual requirements.
Key Quality Control Points
Before machining, the material’s dimensions and specific gravity are checked. After each machining step, the quality, appearance, and specifications are inspected (inspections after each machining step are performed by multiple people).
Dedicated measuring instruments are used to measure the neck hosel diameter and tip diameter.
After machining (when the material is shaped into a putter), the weight, quality, appearance, and specifications are checked.
After manual polishing and blasting, a final check is performed on the quality, appearance (e.g., checking for uneven blasting), and specifications.
After assembling the shaft and grip and applying color to all areas, a final inspection is conducted.